Everybody has their own idea of “the perfect chocolate chip cookie”. Whether they’re mini, oversized, cake-like, crispy, or gooey, chocolate chip cookies bring comfort and joy to all our hearts.
Most chocolate chip recipes are quite similar, and the instructions usually go a little something like this:
- Preheat your oven to 350 degrees F
- Sift the flour, baking soda, and baking powder in a small bowl. Set aside.
- In a separate bowl, cream together the butter, sugar, egg, and vanilla
- Fold the flour mixture in with the wet ingredients
- Waterfall the whole bag of chocolate chips into the bowl because chocolate is life and the more, the better (jk, this should be measured like every other ingredient but feel free to go a bit crazier with this step)
- Bake for 9-11 minutes
- Voila! Enjoy them warm, cold, with ice cream, or however your heart desires
These classic steps never fail in producing satisfying chocolate chip cookies, but with just a few tricks and added steps, you can elevate any classic chocolate chip cookie recipe to new levels!

Through endless rounds of testing, cookie sampling, and maybe a few extra pounds, our team of self-proclaimed cookie connoisseurs has discovered our ideal chocolate chip cookie recipe. It may look standard but boy, does it shine amongst all the chocolate chip cookie we’ve ever had.
We’re here to break down the
do’s and
dont’s of baking your dream chocolate chip cookies.
DO’S
-
Change Up Your Flour: nowadays it seems like you can make milk out of anything - pea protein, oats, almonds, cashews, you name it. The same thing applies to flour. All-purpose flour is the standard, most versatile flour that is used in baking (the name says it all!), but there are types of flours that can really change the game. From whole wheat flour to rice flour and gluten-free flour, the texture of your cookies can change drastically based on the type of flour that you use. Cue, bread flour and cake flour. Yes, we are using not one, but two types of flour. The contrast of fluff and gluten between these two flour types make for chewy, yet airy cookies, and we can’t get enough of this combination.

-
The Butter: Believe it or not, this ingredient decides your cookie’s fate. Is it going to be flat and crispy, oily even? Or is it going to be puffy and thick? It all depends on the state your butter is in when it is incorporated into your cookie mix and the flavor of your butter.
-
Salted vs. Unsalted - the difference the amount of salt in your butter makes in the composition of your cookie is so minimal that most bakers don’t find it worth the headache to debate over. With so much going on in one cookie, we opt for the unsalted butter just to keep things neutral where possible. If you like a little more sodium in your diet, then have all the salted butter your heart desires. For now, we’re sticking with unsalted butter until we’re given a reason not to.
-
Solid vs. melted butter - similarly to the on-going thin crust vs. thick crust pizza debate, do you prefer your cookies flat, crispy, and a bit oily? Or do you enjoy sinking your teeth into thick, soft, and chewy cookies? There’s no right or wrong answer, but there’s definitely a strong preference here at Cooking Panda. If you incorporate liquid butter into your cookies, you’re allowing the fat to run freely through the mixture and not allowing the flour to really absorb it. This, in turn, results in flatter cookies - the fat of the butter has spread as much as it can. Alternatively, solid forms of butter tend to produce a more structured cookie, allowing it to stand tall and mighty through the oven’s high heat.
-
Brown butter vs. original flavor - this is a you’ll-never-look-back type of scenario. Seriously, brown your butter and never look back! This step has become crucial to our cookie recipes - we can’t remember what life was like prior. Browning your butter separates the milk fat and liquid of the butter which composes a toasty, nutty aroma that pairs harmoniously with the blend of vanilla, chocolate chip, and maybe even sea salt in your cookies.

-
Sugar: Just like butter, the type of sugar you incorporate either makes for a flat cookie or a plump one - it’s your call. To stick with our love for thicker chewy cookies, we opt for 2:1 ratio of brown to white sugar. Due to the molasses in brown sugar, cookies turn out chewier and moister whereas white sugar yields flatter, crispier cookies. We love balance, so we add in a portion of white sugar to allow our cookies to spread a bit and crisp up around the edges.
-
Chilling the dough: This step is actually crucial. To achieve the amount of flavor your heart yearns for in these cookies, set your cookies in the fridge for at least 24 hours to allow the flavors to meld together and find it’s cohesive fate.
 DONT’S
-
Fret over your baking pan: We did extensive research, read reviews, and tested a variety of baking pans in search of the best ones. The verdict? It’s doesn’t matter! Some sources recommend edgeless cookie sheets to maximize baking room and other sources prefer aluminum baking pans because of they’re high heat conductivity. The most important part of a cookie is the flavor and we didn’t taste much of a difference when using either pans.
-
Worry about parchment paper vs. foil: Self-explanatory, but long story short, using parchment paper vs foil won’t make or break your cookies.

-
Eyeball your measurements (including scooping cookie dough): Baking is a science and if you eyeball your measurements, you’re putting your cookies at risk for failure. Do yourself a favor, measure everything out to the tee and use an ice cream scoop to measure out your cookie dough balls for aesthetically pleasing and uniform cookies.
-
Overbake: No one likes a burnt cookie! The rule of thumb is to bake your cookies at about 10 minutes or when you see the edges start to brown. Take the baking sheet out of the oven and keep the cookies put for 30-45 seconds to finish off the baking process at a lower temperature. After that, transfer the cookies to a cooling rack to stop the baking process.
-
Forget the sea salt: For all the sweet and salty fans out there, this step is a must and should not be omitted. Sprinkle sea salt directly on top of the cookies right after you pull them out of the oven so that the salt can stick while the cookies are still hot.
-
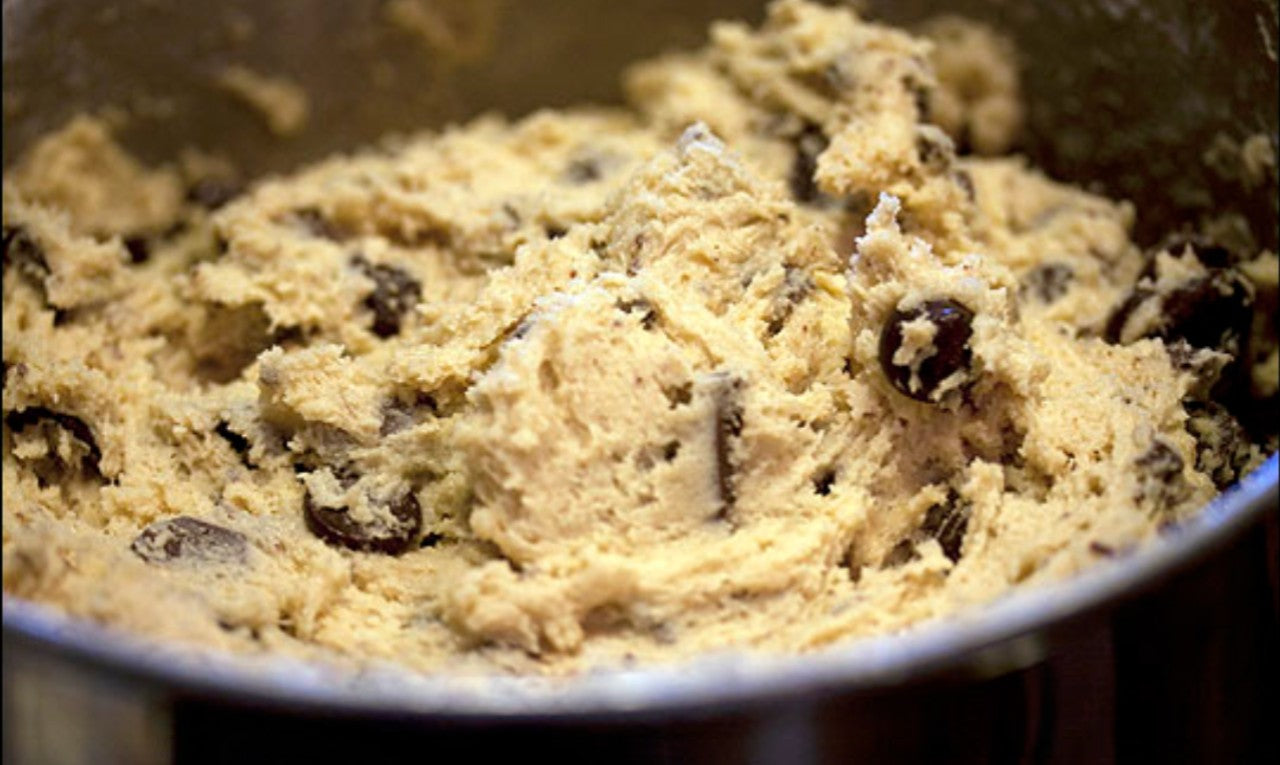
Eat all of this delicious raw cookie dough - We know, it’s hard not to, but seriously, just wait until they’re baked. It’ll be worth the wait, we promise!

There you have it! The secret do’s and dont’s to elevating chocolate chip cookies. Now take any of your beloved chocolate chip recipes, apply these tips, and you’ve got yourself the cookie of your dreams.
Sources